AMD Ryzen Based Platform for Virtualization (Taking Internet Routing/Firewalling Up a few Notches)
Introduction
The Internet. As this post is being created here in the first part of 2019, access to the Intenret is essential for every household. The level of communication and utility that this access brings about is difficult to imagine living without.
This is amazing as just a mere 15 years ago this level of access was largely thought to be a luxury in many respects. As a technologist having robust access to the Intenret, for me, has been a must for a very long time. So, you can imagine
that when things don't work perfectly as it relates to this kind of access I am not happy.
Components
And so the story goes with consumer focused routing solutions. You know the ones: they are featured promonently on a shelf at your local big box retailer and come with many limitations.
| Qty | Component | Description | Product Link |
|---|
| 1 | AMD Ryzen 3 2200G | Central Processing Unit with embedded Radeon VEGA Graphics | Purchase |
| 1 | Gigabyte B450M DS3H | Main board with RGB control | Purchase |
| 2 | HP 364T NIC | PCIe Network Interface Card | Purchase |
| 1 | CORSAIR Crystal 280X | PC Case for all components | Purchase |
| 1 | CORSAIR RM850x | 850 Watt Modular Power Supply | Purchase |
| 1 | CORSAIR LPX 32GB Kit | DDR4 DRAM Kit Black | Purchase |
| 2 | Crucial MX500 SATA | 500 GB NAND Flash SSD | Purchase |
| 2 | Mediabridge Category 7 Ethernet Patch Cable | Network Switch Uplink | Purchase |
Motherboard
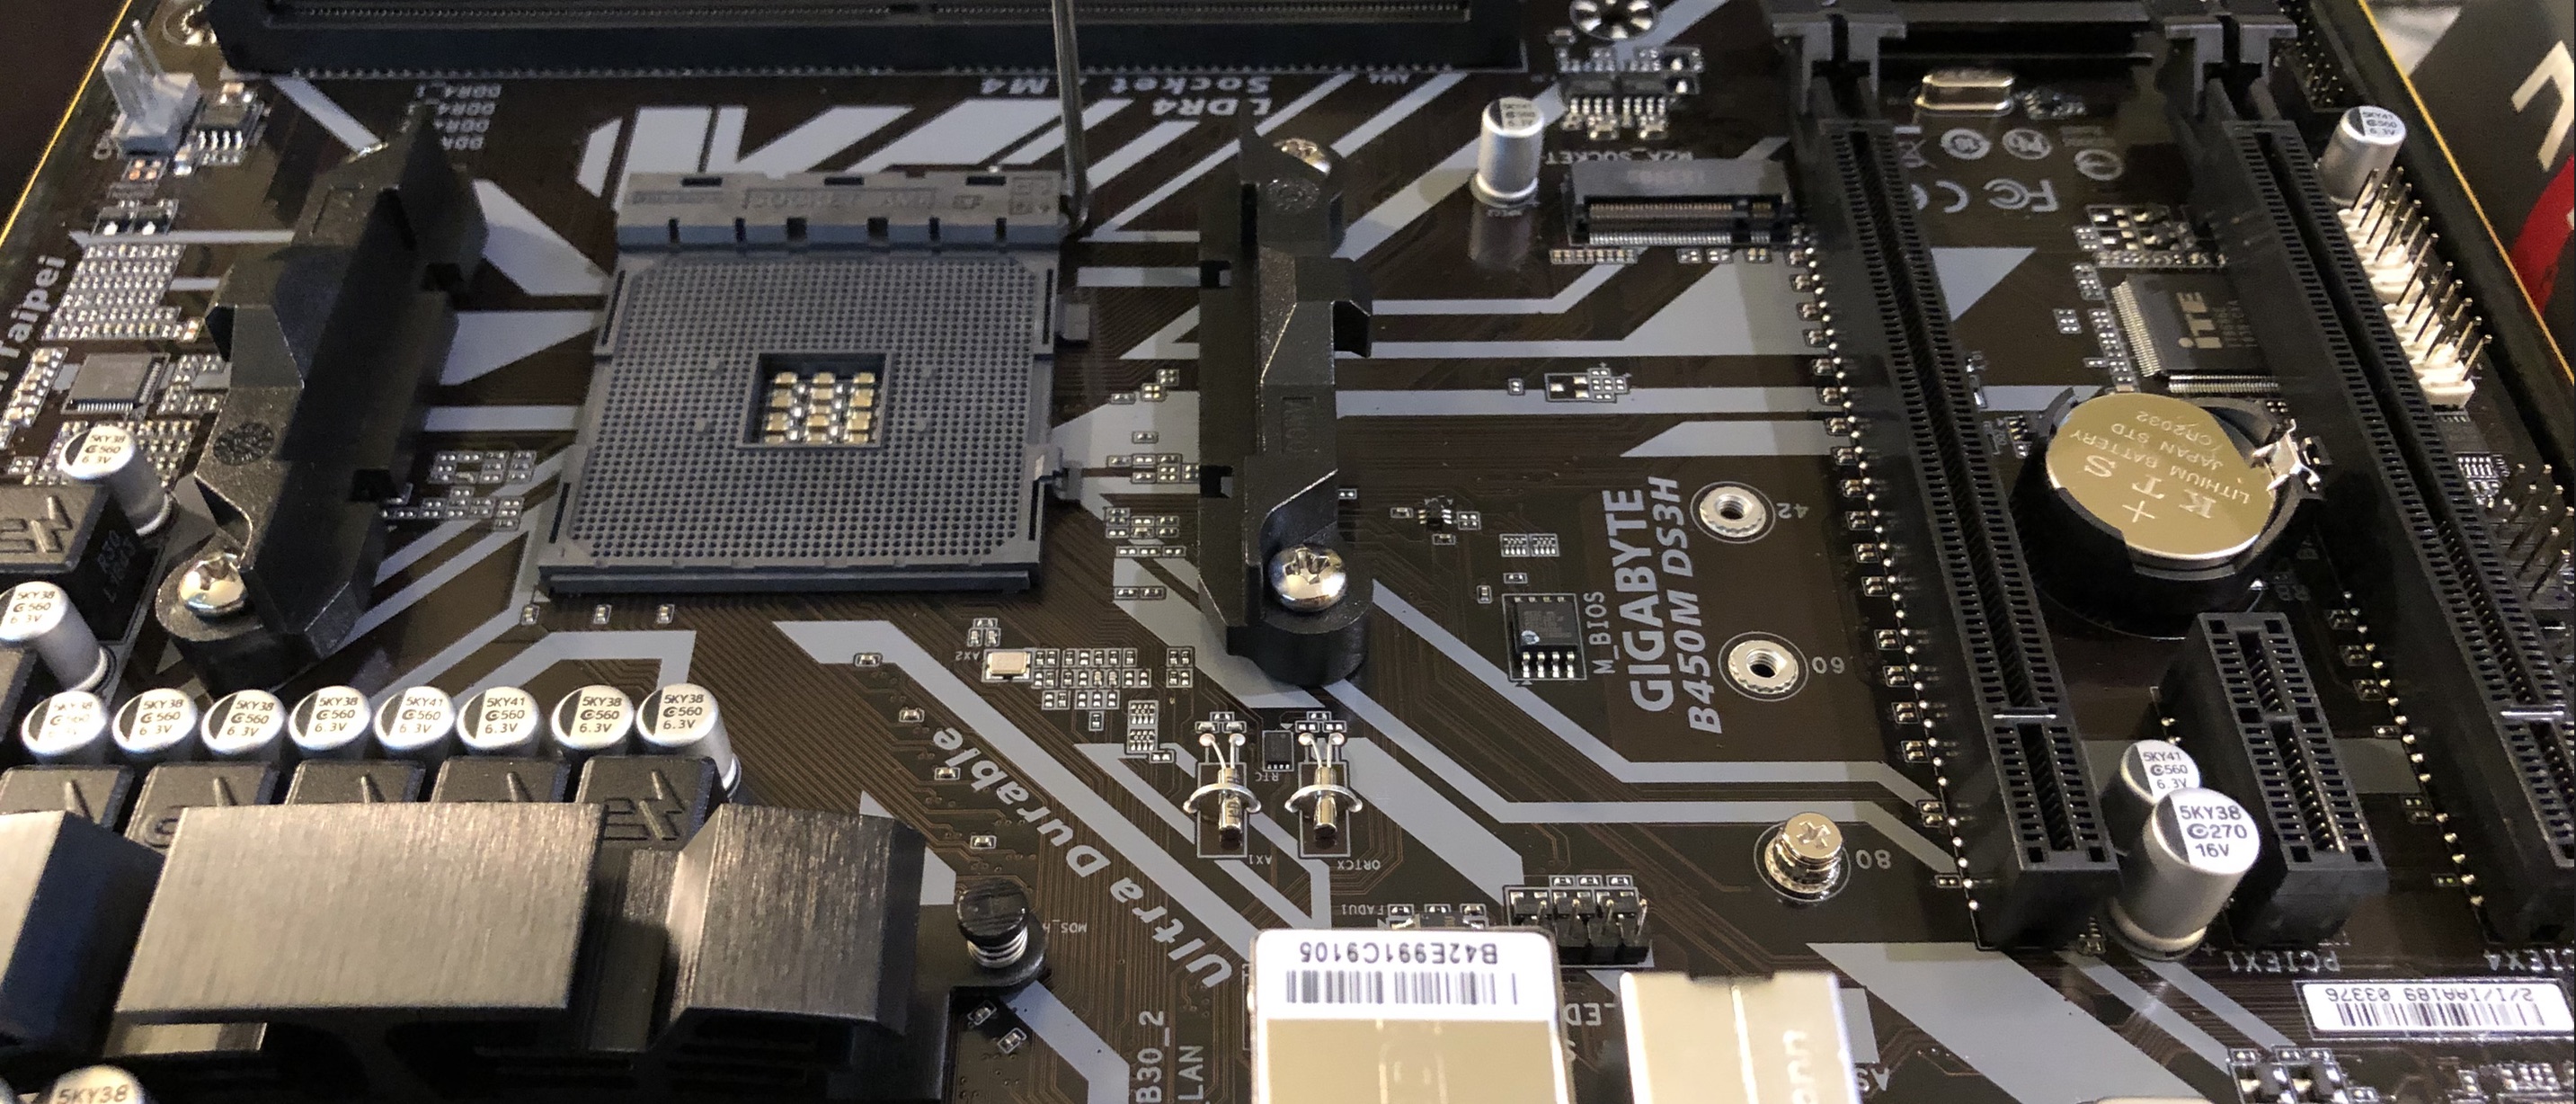
Selection of the main board for this project didn't involve a whole lot of research. I definitely wanted the build to be based upon the AM4 socket as I'm partial to AMD's approach.
Outside of that I simply looked up some of the top brands that builders are using these days for systems and chose a well known name.
The funny thing about it was that it appeared that I had chosen poorly early in the build. After assembling everything and powering on the sytem I go nothing. Absolutely nothing. I thought I had gotten a lemon.
Looking at some of the forums seemed to indicate that Gigabyte wasn't a great manufacturer of hardware as many posts about problems with their boards began to surface. I even went out and purchased a board from
ASRock. You know what happened when I assembled all of the components on the ASRock board? Nothing. So, I stepped back and began to look at what I might have done incorrectly.
Turns out I had done everything right. The root cause of my issue turned out to be the display that I was using for the build, which apparently wasn't interpreting the wake signal
properly when the machine POSTs. The solution: just turn the monitor off and back on.
Processor
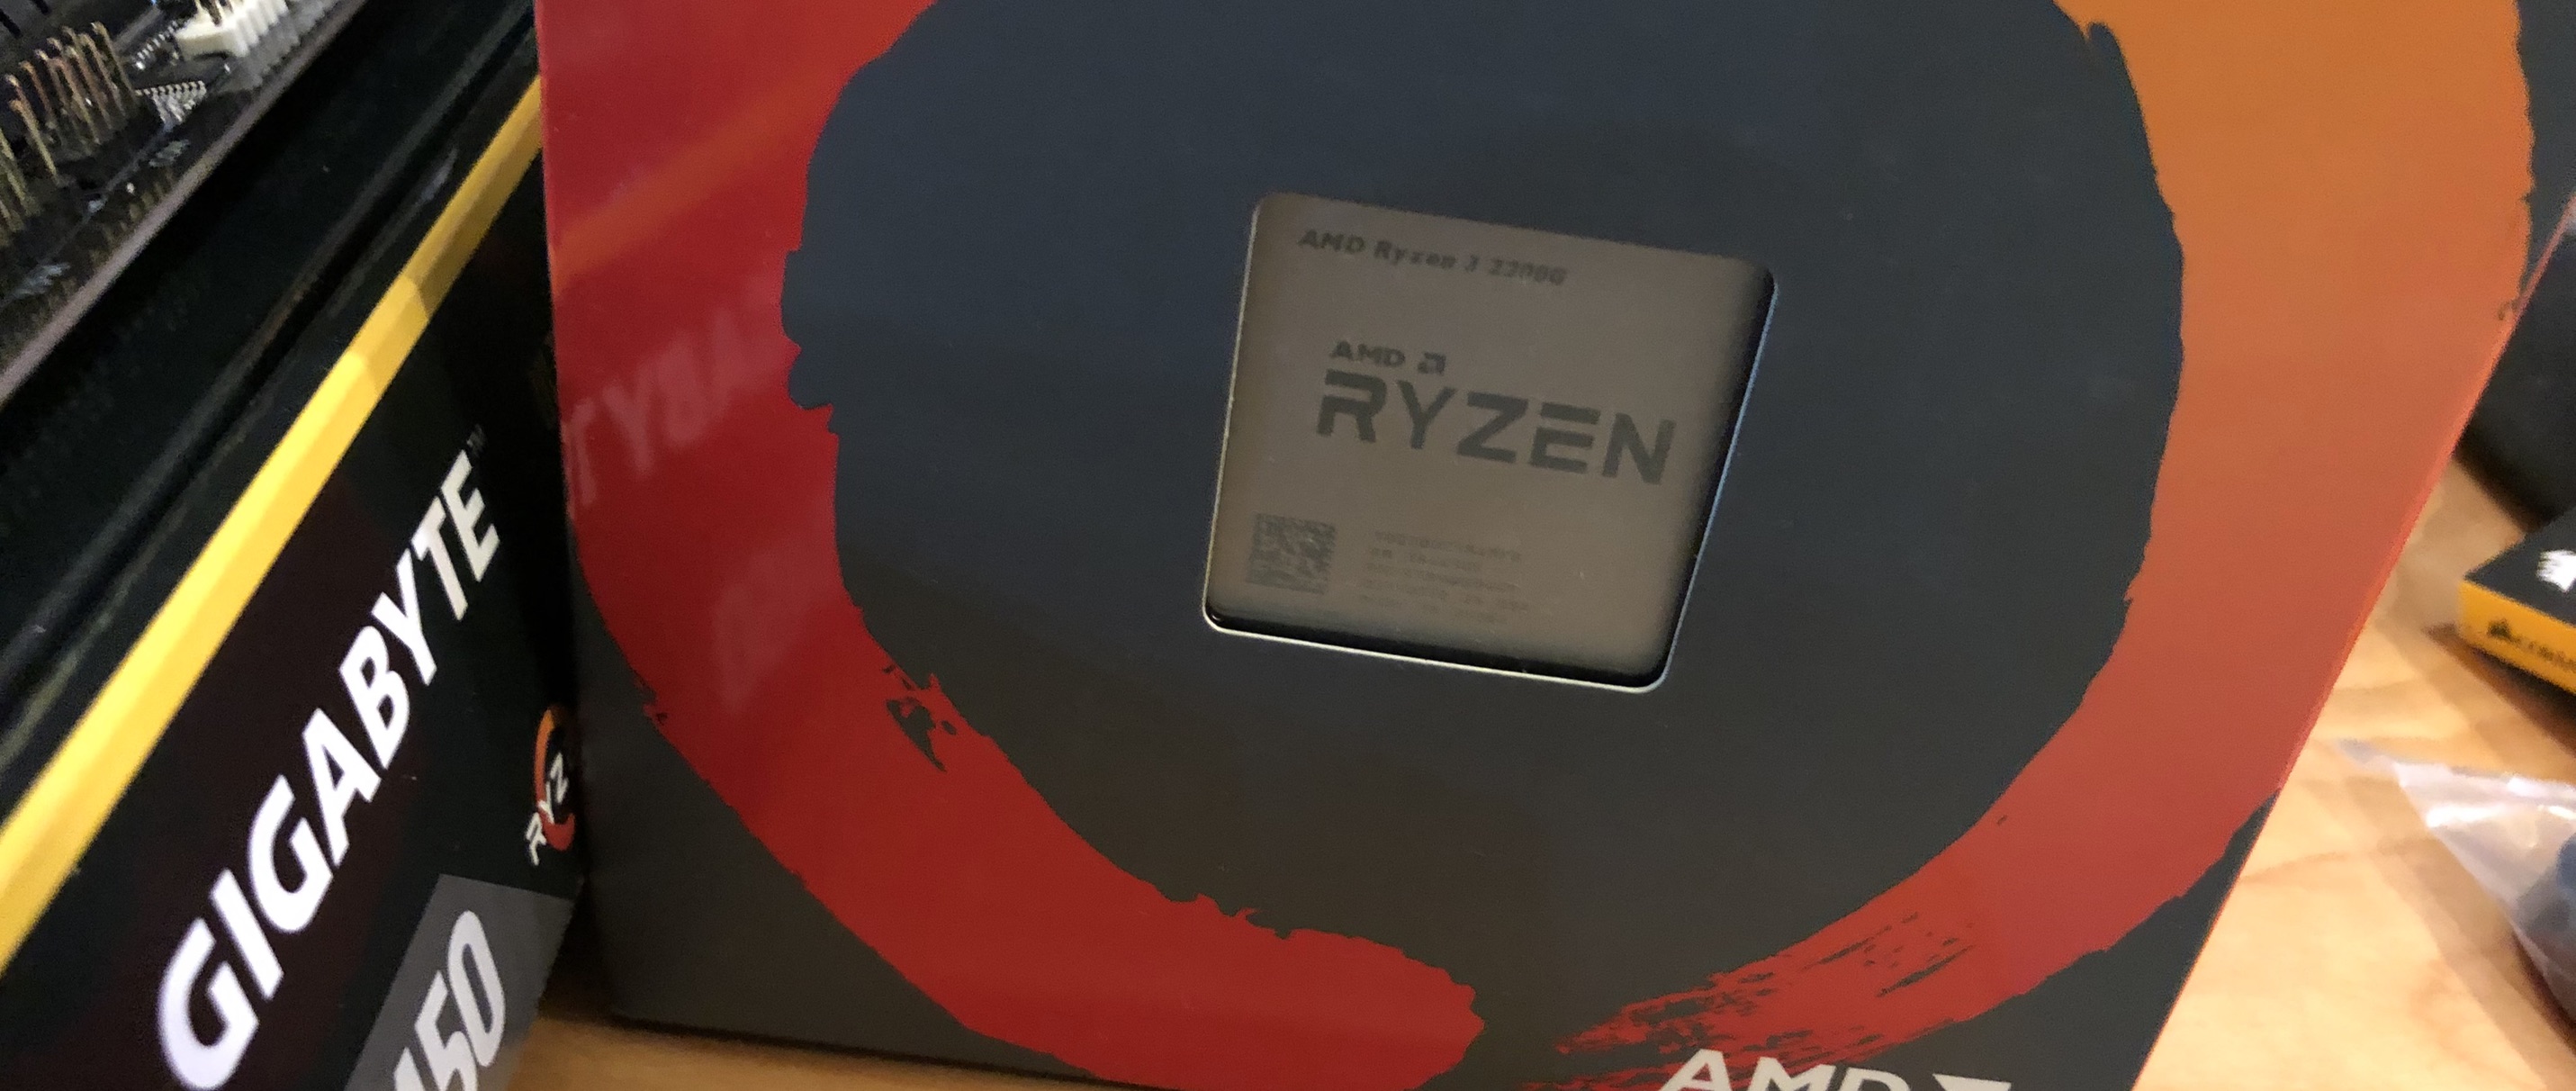
I like AMD's architecture a lot. I've been using solutions by AMD for a number of years, dating back to my days in corporate IT. The philosophy behind the Infinity Fabric speaks
to me. The Ryzen 3 2200G will have plenty of punch to deliver much more than will be required for the tasks that this platform will be rquired to perform. The processor also ships
with a native cooling solution suitable for my purposes. No overclocking in this build at all.
Networking
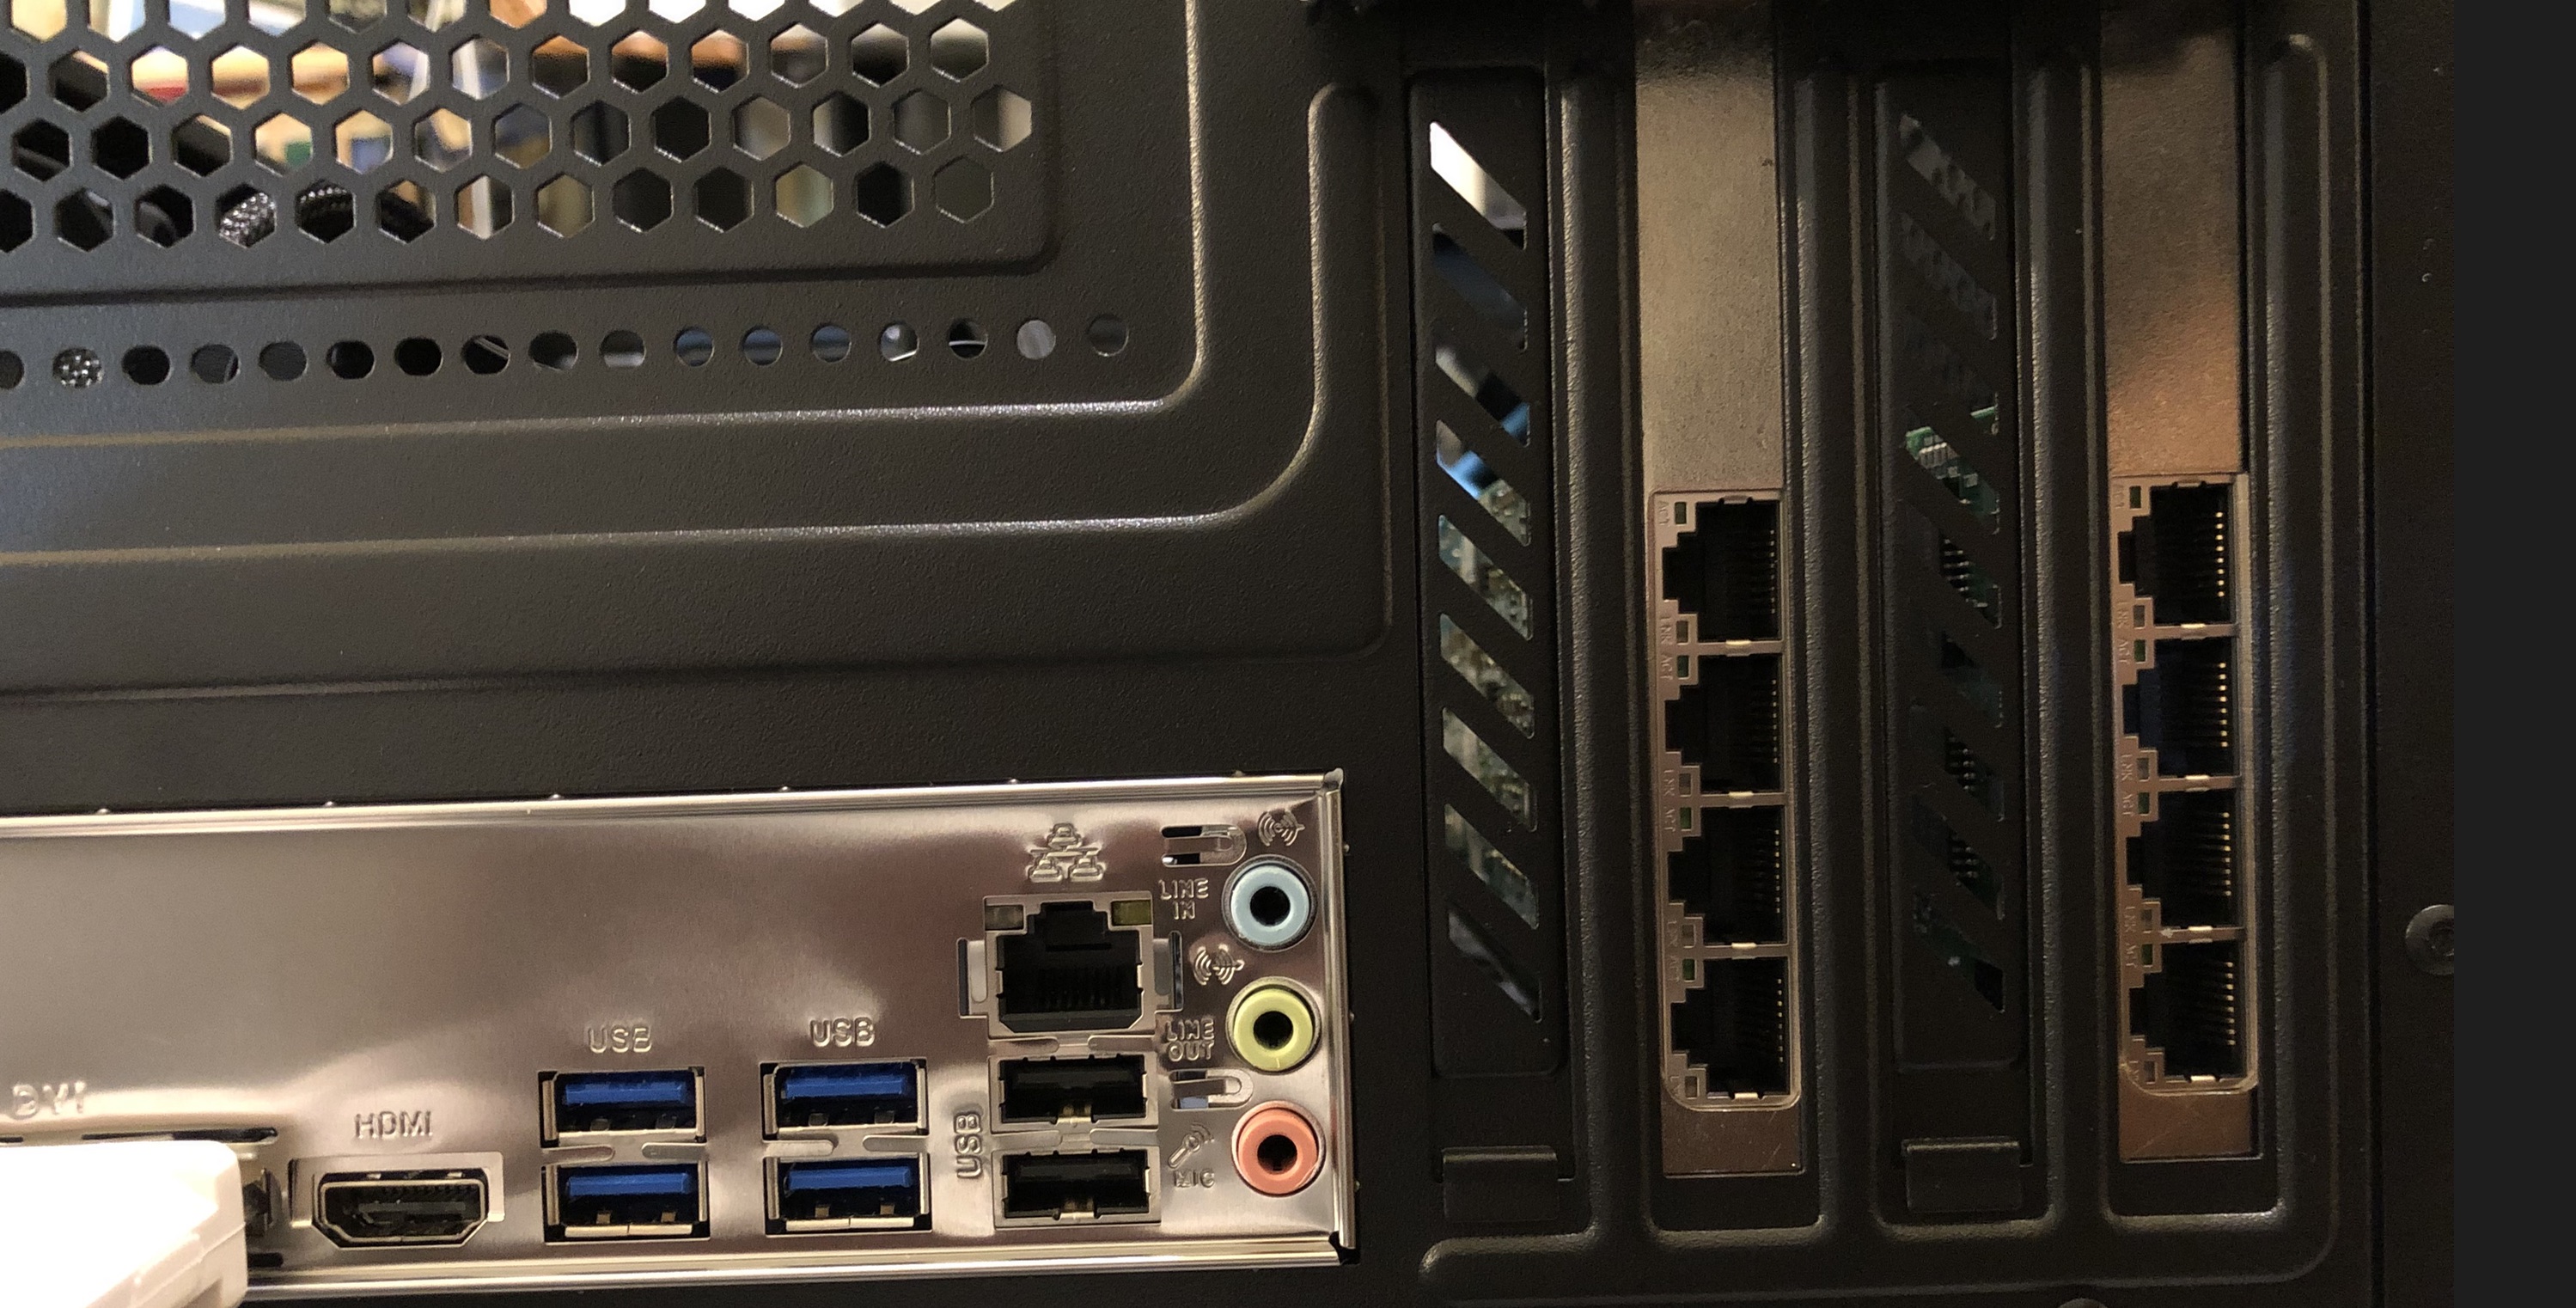
This build will host a core networking component for our access to the Internet. The communications backbone of the network in the home runs at Gigabit speeds and is comprised of
a number of Gigabit switches. The idea behind this new router/firewall is that we wanted it to have a dedicated Gigabit uplink to each of the switches. One obstacle that I encountered
is that there is apparently some sort of bug in the Linux OS that prevents these interfaces from starting automatically as a part of the boot process. Small problem. Linux being as flexible
as it is and the fact that this installation has systemd, a few short services files was all that I needed to get past this particular challenge. The model for the service
files are as follows:
                                    [Unit]
                                    Description=Service to bring up/down unconfigured nic enp10s0f1
                                    After=network.target

                                    [Service]
                                    Type=oneshot
                                    RemainAfterExit=yes
                                    ExecStart=/sbin/ip link set enp10s0f1 up
                                    ExecStop=/sbin/ip link set enp10s0f1 down

                                    [Install]
                                    WantedBy=multi-user.target
On this journey I encountered another fun challenge that had to do with changing the default name of the interfaces detected in the system.
If you've done any work with Linux in the past you know that as a part of the boot process, network interfaces are discovered and given names that are far less
than what anyone would consider human friendly from a reading standpoint. So, I've traditionally liked to rename these to something more meaningful. In this particular build
this is even more important because of the sheer number of interfaces with which we are dealing. The root of the challenge here is the fact that the operating system moves from
the traditional networking configuration process to one that is known as "Netplan". This introduces many new things to learn. With this change, network interface definitions are moved
to a file called /etc/netplan/50-cloud-init.yaml. Within this file is where you define the name that you want to utilize for your interface(s). But, there is a specific
syntax that must be followed in order to accomplish this objective. Here, I provide an example of that syntax:
                                    # This file is generated from information provided by
                                    # the datasource.  Changes to it will not persist across an instance.
                                    # To disable cloud-init's network configuration capabilities, write a file
                                    # /etc/cloud/cloud.cfg.d/99-disable-network-config.cfg with the following:
                                    # network: {config: disabled}
                                    network:
                                        version: 2
                                        ethernets:
                                            enp8s0:
                                                match:
                                                        macaddress: xx:xx:xx:xx:xx:xx
                                                set-name: host-inet_gw0
                                            host-inet_gw0:
                                                dhcp4: false
                                            enp11s0f0:
                                                match:
                                                        macaddress: xx:xx:xx:xx:xx
                                                set-name: priv_eth0
                                            priv_eth0:
                                                dhcp4: false
I've obfuscated my actual MAC addresses for obvious reasonse, but in the example above we're changing the name of two of the interfaces in the system.
Within the ethernets section we are specifying the detected name of the interface(s) and then indenting our instructions underneath each interface in order to
specify the changes that we want to implement for each.
The Case
I didn't spend a lot of time on this decision either. As it turns out I'm quite happy with what I've ended up with here. The CORSAIR case has really nice tempered glass panels that make
the build look super slick. It is an all black case and the glass panels themselves seem to be smoked just a tad. I absolutely love the look of the case. It isn't the smallest
form factor availalbe, but stealthy looking nonetheless.
Operating System
Never a doubt here. We're running Linux. The latest Ubuntu Server distro. It has all of the packages that we need to provide an amazing foundation for the intended application.
That and stability is unrivaled. I've got this distro running on other systems in the home network for infrastructure services and they just work.
The Hypervisor
As we are running Linux we've enabled the KVM hypervisor to enable virtualization of operating system instances on this platform.
Routing / Firewall Solution
Enabling functionality far beyond what is available in any consumer grade routing solution, pfSense has been selected to serve in this capacity. The ability to provision and enable a virtual instance of this solution
will provide for tremendous flexibility now and into the future.
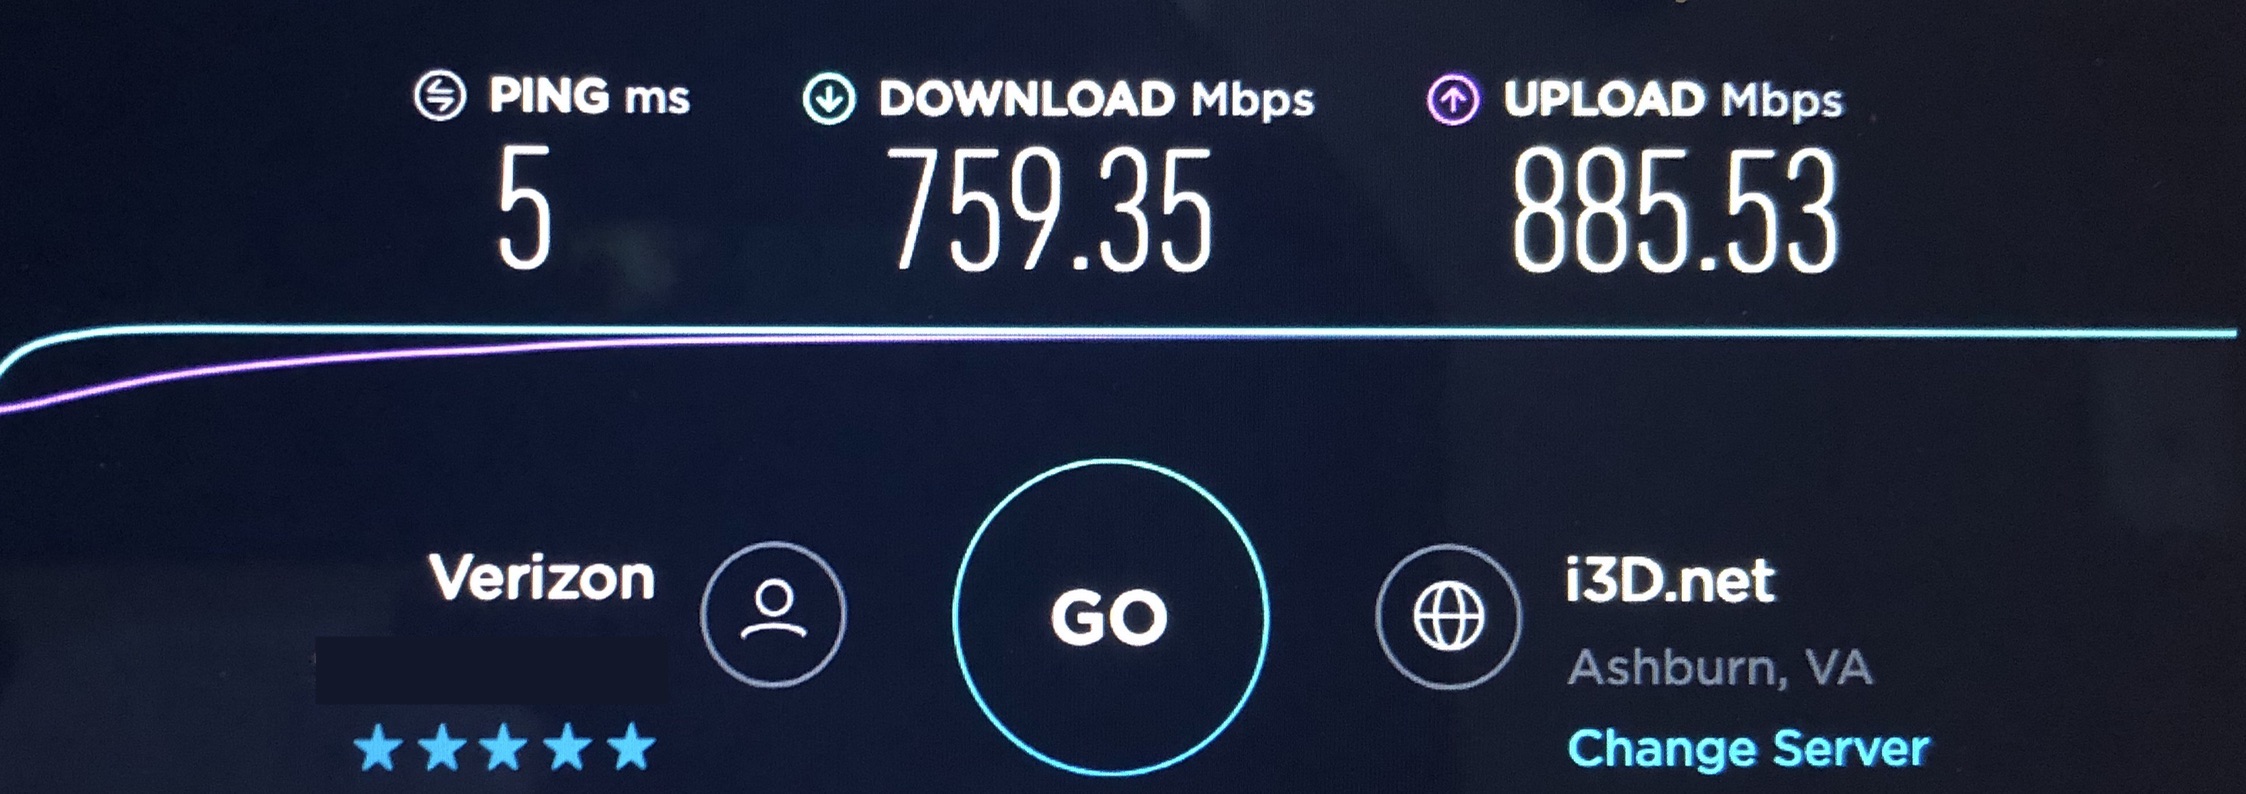
While the end result here is exceptionally positive, the pfSense journey was not without it challenges. Chief among those was learning about the limitations that
the Linux operating system's networking components have with the traffic encryption capabilities embedded in the CPU. This is only important when dealing with virtual machines
it seems. After a bit of research I learned that turning off a flag in the pfSense configuration that aims to leverage this CPU encryption capability resulted in a dramatic improvement
in network performance at the cost of a bit more CPU utilization. This is fine as the platform has plenty of compute headroom.

